Ten Technique Tips for New 505 Crews
by Jesse Falsone
Having crewed a 505 continuously for 15 years and 9 world championships gives one a very good perspective on proper technique. Being a student in the evolving art of crewing, and now moving part-time to the back of the bus, I am in a unique position to see how a new 505 crew approaches the craft, and moreover, to give these people useful instruction. As Mike Martin has shown, a helmsman knowledgeable about crewing technique can quickly develop a new crew, and make experienced crews better.
A major goal in the 505 class is not only to attract the best sailors to 505 crewing, but to keep them motivated, and ultimately, to share in the dream of winning at the highest levels in our class. The best way to keep someone motivated is through continual improvement, and it is with that premise that I offer the following tips and also an accounting of the most common technique mistakes made by new 505 crews.
As a card-carrying member of the Crew’s Union, I can’t go back on the #1 rule –“It’s always the skipper’s fault”. In fact, this article could just as well be a treatise on the most common technique mistakes made by new 505 drivers, and highlight my antics holding the tiller in several regattas. However, this would be too easy, because we all know it’s harder to crew the 505, and this subject matter is best saved for a separate article. But, be certain that one will follow! I’m still waiting for an experienced helm to write a technique article, but in all the time I’ve sailed the 505, not a single driver has ever stepped up to the plate to do so despite my prodding. Will I become so lazy as a driver?
I have made nearly every conceivable mistake in the front of the 505, and some that seem inconceivable, so I will restrict this piece to basic techniques, which are the most important for rapid improvement. I have omitted any discussion on jibing with a single pole for now because it seems that the double pole phenomenon has taken hold and has made OBE many technique-related issues. Jibing a 505 from the front now seems too easy in breeze. I will have to wait until I actually have experience using the double pole before I make the necessary mistakes to comment accurately!
I would also recommend reading the many other articles I and others have written on crewing technique which are available in previous issues of Tank Talk online. Also, Drew Buttner’s recent interview with Mike Martin in Sailing World (http://www.sailingworld.com/0911martin) has some special insights into his approach and how experience in both positions is extremely valuable.
Crews should remember that their largest asset and driving force is the desire to get better, and to approach learning with an open mind. While there may be more than one technique that works in a maneuver, there will be only one that works best for a team. Even if you’ve been crewing for a long time, and have become relatively set in your ways, it may be that another technique, once perfected, will work better. Be open to change.
Wire-to-Wire Tacks in Medium and Heavy Air
Tip 1
Always uncleat with the back hand and unhook from the wire with the front hand before the boat is turned into the tack. This assures that a cleated jib or hooked crew won’t force a capsize during the tack.
You know you’ve done it right when you don’t have a mad scramble across the boat because your timing was destroyed by a cleated jib or unhooked ring.
Tip 2a
Get across the boat quickly! Don’t wait for the driver to turn. Make the driver “tack around the crew”. Once the driver indicates they are about to tack, the crew should go. A good driver will regulate the speed of the turn to the speed of the crew.
You know you’ve done it right if the boat remains relatively flat through the tack, and the crew gets to the new side ahead of the driver.
Tip 2b
Toss the uncleated jib sheet forward before crossing the boat so your feet don’t get tangled during the tack. Also, resist the temptation to hold the jib sheet too long causing the jib to backwind or the old sheet to wrap on fittings. This is especially important in heavy air when you want to get the bow through the wind quickly with a minimum of rudder movement and boat heel.
You know you’ve done it right when the rate of turn is measured and consistent and not extreme and abrupt.
Tip 3
Rather than standing on the side of the hull during a wire-to-wire tack as you might in a skiff, un-weight your body by swinging in on the wire. I like to lift my back leg and point it to the opposite side as I swing in. This technique allows the crew to move more smoothly into the boat by promoting transverse movement rather than vertical. It also allows the crew to place his back foot completely over the trunk and onto the new weather side, which is crucial for a smooth tack. Lead with the back foot through a tack rather than your head. No bunny hopping over the trunk! It’s slow and clumsy.
You know you’ve done it right when your tacks feel smooth with less effort.
Tip 4
Grab the new jib sheet at the cleat with the goal of getting it trimmed and cleated as quickly as possible. The trimming motion is a combination of spinning and pulling with your new back hand as you come to the weather side and sit. Mechanically, it may help to pull with your hand skimming along the top of the new weather tank rather than up in space. This allows for the trimming and cleating in one motion with no need to take extra time to get the sheet in the cleat. It also assures that the sheet won’t blow out of the cleat when loaded.
You know you’ve done it right when the jib is trimmed fully while the boat is flat or even heeled slightly to weather on the new tack, and just as the driver is about to sit on the new tank.
Note: Some crews are very good at just taking the sheet with them on the wire and trimming from there. Personally, I have not been successful with this technique. As a driver, I know how crucial it is to have the jib trimmed ASAP after a tack to put the bow down for acceleration. If it’s not trimmed, or only partially trimmed when the crew jumps wire, the driver must sheet the main to maintain balance. In doing so, the boat wants to round up and large rudder angles are required that can ultimately lead to stall.
Tip 5
Get out on the wire before the boat heels up. It took me a few years to convert to the “Hook and Go” tack, but I can tell you that done properly, it’s better in every respect. I believe the trick is to grab the trapeze ring with your new front hand and place it in the hook. The best crews can do this without looking, and they are then free to throw their torso over the side and get their feet on the rail. Watch Peter Alarie do it because he’s the best in the business.
You know you’ve done it right when you pop out on the wire with ease just as the driver is ready to trim the main. You have expended far less energy during the tack, the boat immediately accelerates, and you have that “I’m a rock star” feeling as you roll over some chump with poor technique!
|
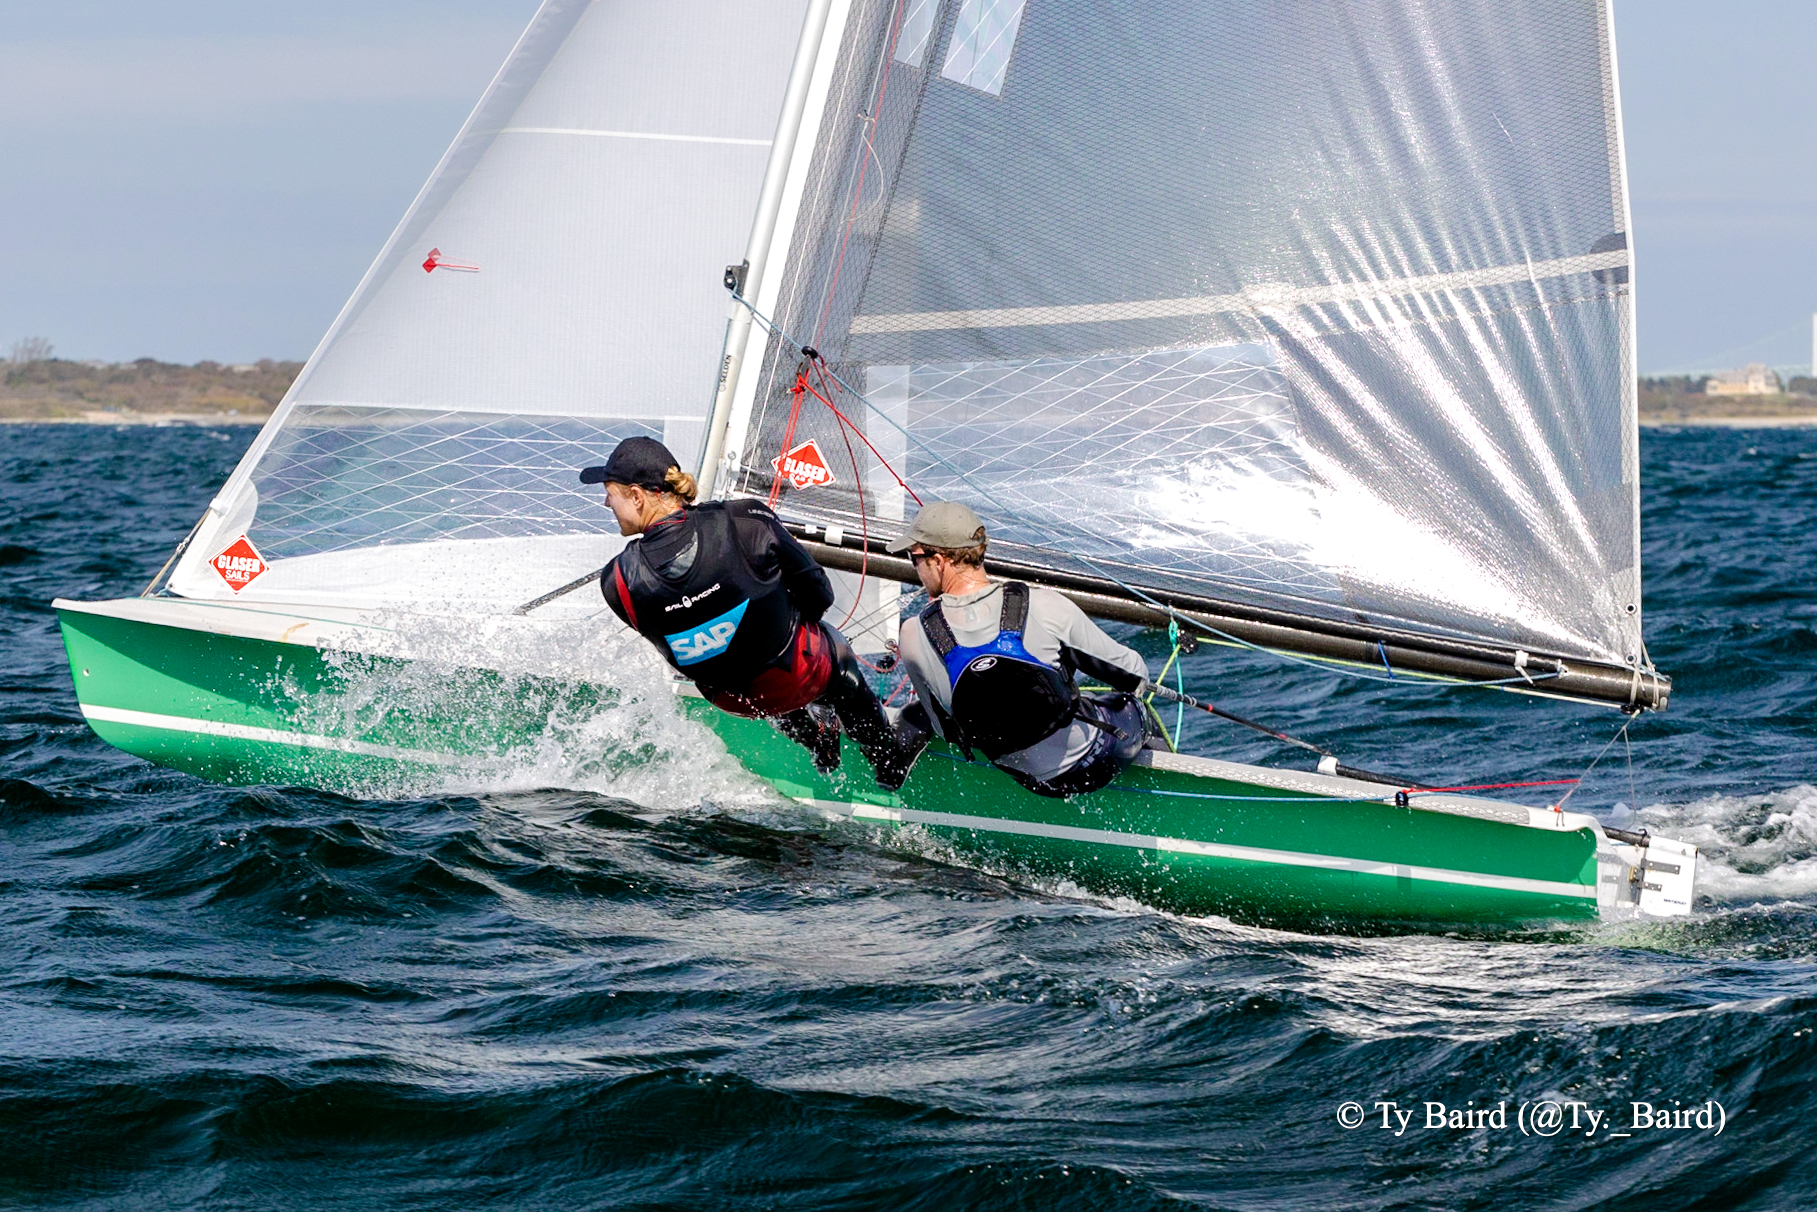
Eric Anderson and Parker Shinn demonstrating how to wire-to-wire tack in a 505 |
|
|
|
Youtube
video: Peter Alarie discussing wire-to-wire tacking in a 505 |
Trapeze Technique
Tip 6
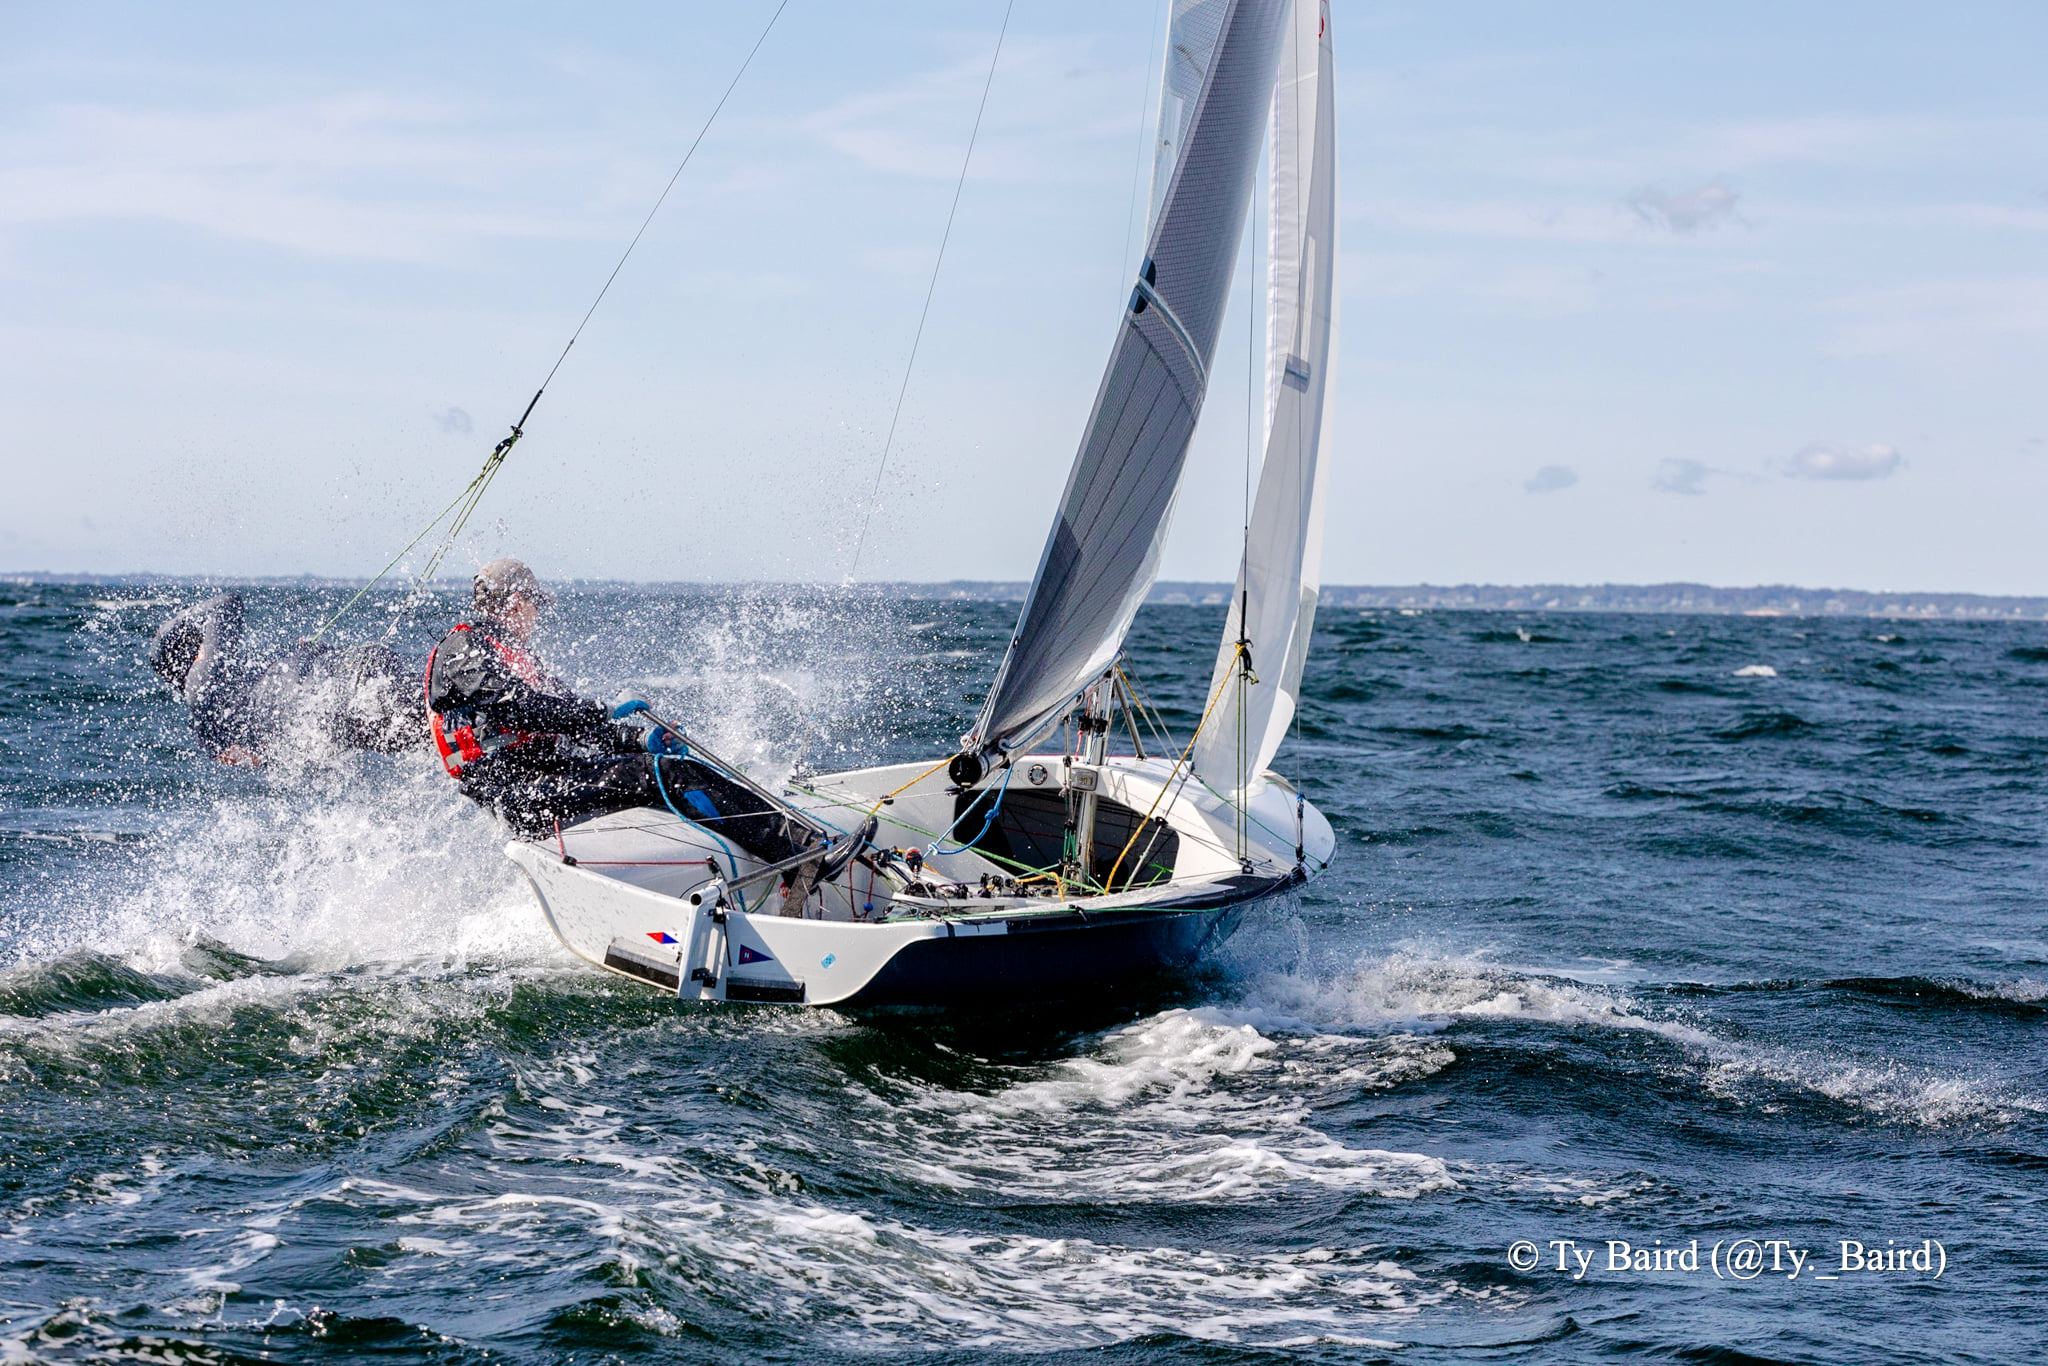
Don’t allow yourself to get pushed around by waves, boat motions, and inertial forces during a hard turn. Recognize that there’s extraordinary strength in your legs to counter these things, and that being alert at all times will allow you to anticipate them. Be careful of being too low on the wire in heavy seas, and in extreme conditions, you may need to stabilize your body by spreading your legs slightly and holding the jib sheet more tightly to create a “tripod” stability effect.
You know you’ve done it right when you remain aft of the shrouds and forward of the driver!
Tip 7
Optimize your leverage for the conditions. The goal is to ring as much driving force from the rig as possible at all times. When the breeze is on and the crew is in a relatively static position on the wire, focus on getting your weight as far out as possible by going low on the wire, straightening your legs and torso, placing one or both hands behind your head, and pointing your toes. Don’t over-adjust your height. Find the sweet spot for the conditions, and if you’re low on the wire, consider bending at the torso slightly to reduce leverage if necessary rather than making a height adjustment. When sailing on a tight spinnaker reach with the boat heeled and riding on the leeward quarter, get very low on the wire to counter the heel.
You know that you’ve done it right when you are focused more on trim and tactics and less on ring height. Also, you are able to sense when more leverage is required, especially when the driver needs to trim the main harder.
Trimming Technique
Tip 8
Be sensitive to changes in wind speed by adjusting your jib sheet tension accordingly. Changes in wind speed can dramatically alter the shape of the jib, especially at the leech. Making timely and accurate changes are a great way to improve performance. Try using the transverse distance from the leech at the telltale to the shroud as a reference. Keeping the leech just outside the shroud at all times may be a good starting point in most conditions. Learn to calibrate this distance depending on the conditions, using your jib sheet numbers as a guide for repeating fast settings quickly.
You know you’ve done it right when the driver doesn’t need to say “trim” or “ease” the jib.
Tip 9
In very windy conditions, the crew needs to be ready to blow the jib instantly and momentarily (very quick in-out) to keep boat on it’s feet without losing speed through the waves. Personally, I do not like risers or angles on jib cleats in a Waterat or Rondar (jib cleat heights vary with thwart height for other boats). The risers and angles make it more difficult to get the jib blown in heavy air. In all likelihood, the crew should have a fairly tight grip on the jib sheet in heavy air anyway, and this should make it easier to effect a quick adjustment.
You know you’ve done it right after a big gust when the driver thanks you and recognizes that the team would’ve been swimming had you not been ready for the gust.
Tip 10
Rudder stall downwind is most commonly caused by an over-trimmed kite. Mike Martin says “Next Time you are driving on a tight reach in breeze, have the crew slightly overtrim the kite. You wont believe how much the helm loads up!” The crew has to retain focus on the kite when it’s critical, and let the driver worry about downwind tactics. If the rudder begins to stall, the only way to stop it is to immediately flog the kite. Easing it partially or too slowly will not save you!
Note: Experienced crews can sense when rudder is beginning to stall, and knows the motion the boat takes that can cause a rapid stall. This motion is caused by the leeward bow hitting the back of a wave suddenly, causing a pitch/heel coupling that forces the bow up. The driver instinctively pulls the rudder hard causing the stall.
You know you’ve done it right when boats around you are wiping out and you’re flying past them.
►Fitness for Crewing a 505 □ by Eric Anderson


